Canvas Installation - Take 2
Made it to the marina somewhere around noon today, with a handful of things I wanted to do, but really, sorting the canvas was #1. It was hot today, like crazy hot, so pretty much everything was slow going, with breaks in the cabin for the AC…
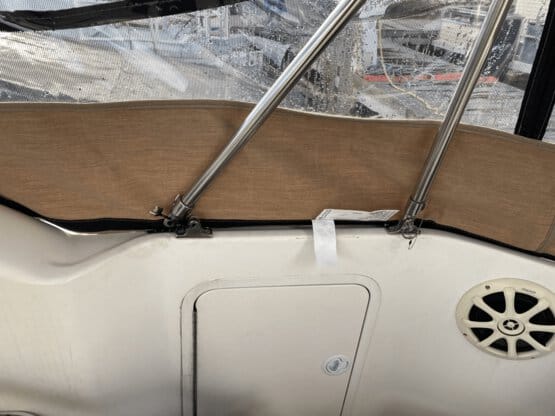
I went ahead and removed the front visor section, zipped it back together side by side but not yet attached to the front of the bimini, and took another look at the frame and bow system, as well as overall alignment and top extension all the way to the stern of the boat, where it remained a good 2” too short at the moment. I was reminded that while not as bad as many I’ve seen, my center windshield was a bit ‘off’ on the starboard side, probably around an inch ‘low.’ Taking a quick look, there are both the upright braces going to each of the port and starboard windshield sections (with screws both to the hull on the bottom and a single screw going through the windshield frame to the top of each support), as well as various screws holding the windshield sections together.
The front windshield’s leading edge basically sits on a rubber seal, but is not, as far as I’ve seen, screweed into the hull. I loosened most of the screws a bit, including on the front frames, and was able to pretty quickly reduce the gap fairly significantly, down to around half of what it was, then re-tightening everything. Calling it good enough for now, although I’ll probably work with it further as I get closer to the canvas being sorted.
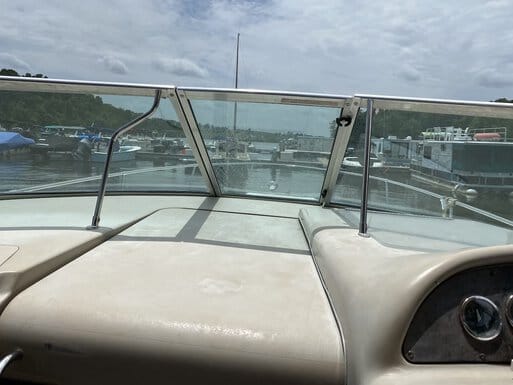
The first pic is actually the ‘after’ pic - there’s still a gap, but it’s much less than it was previously, and some additional adjustment can likely get it sorted the rest of the way.
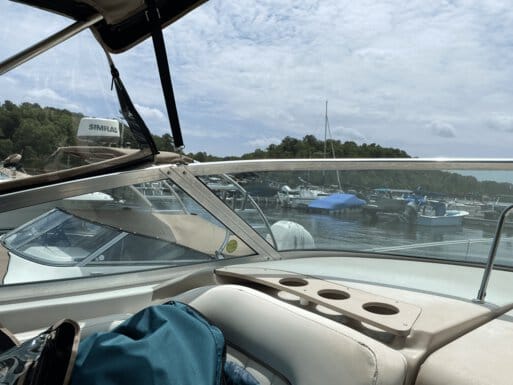
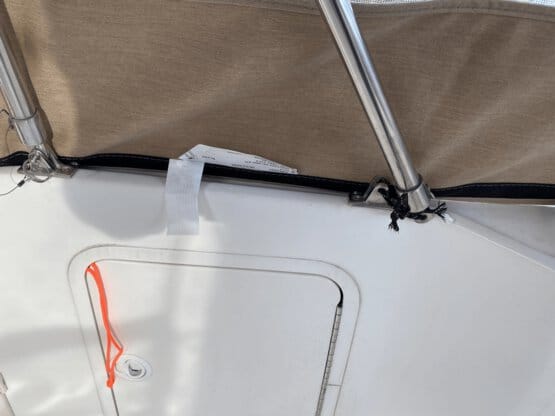
I wound up tying the disconnected center bow up to the bracket with with paracord temporarily, as well as disconnecting the front of the rear frame and tying it up as well. Note if doing this, you should cover the ends with some electric tape or something, as moving the top around did introduce some small scratches to my gelcoat moving it all around - I’m not too concerned as she’s an older boat, but will see if I can polish them out later.
Obviously, I’m not worried about the center bow position left to right at the moment - primarily wanted it not flowing around adding stress to the canvas, until I sort what needs to be done here.
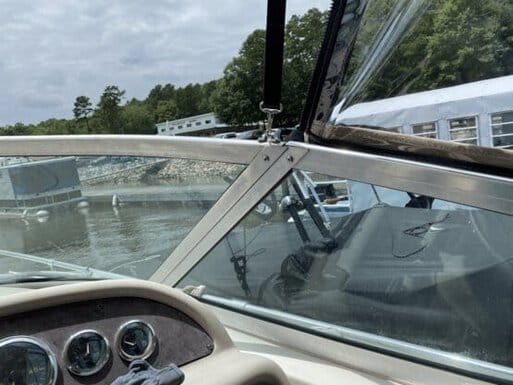
Working on the rear frame …
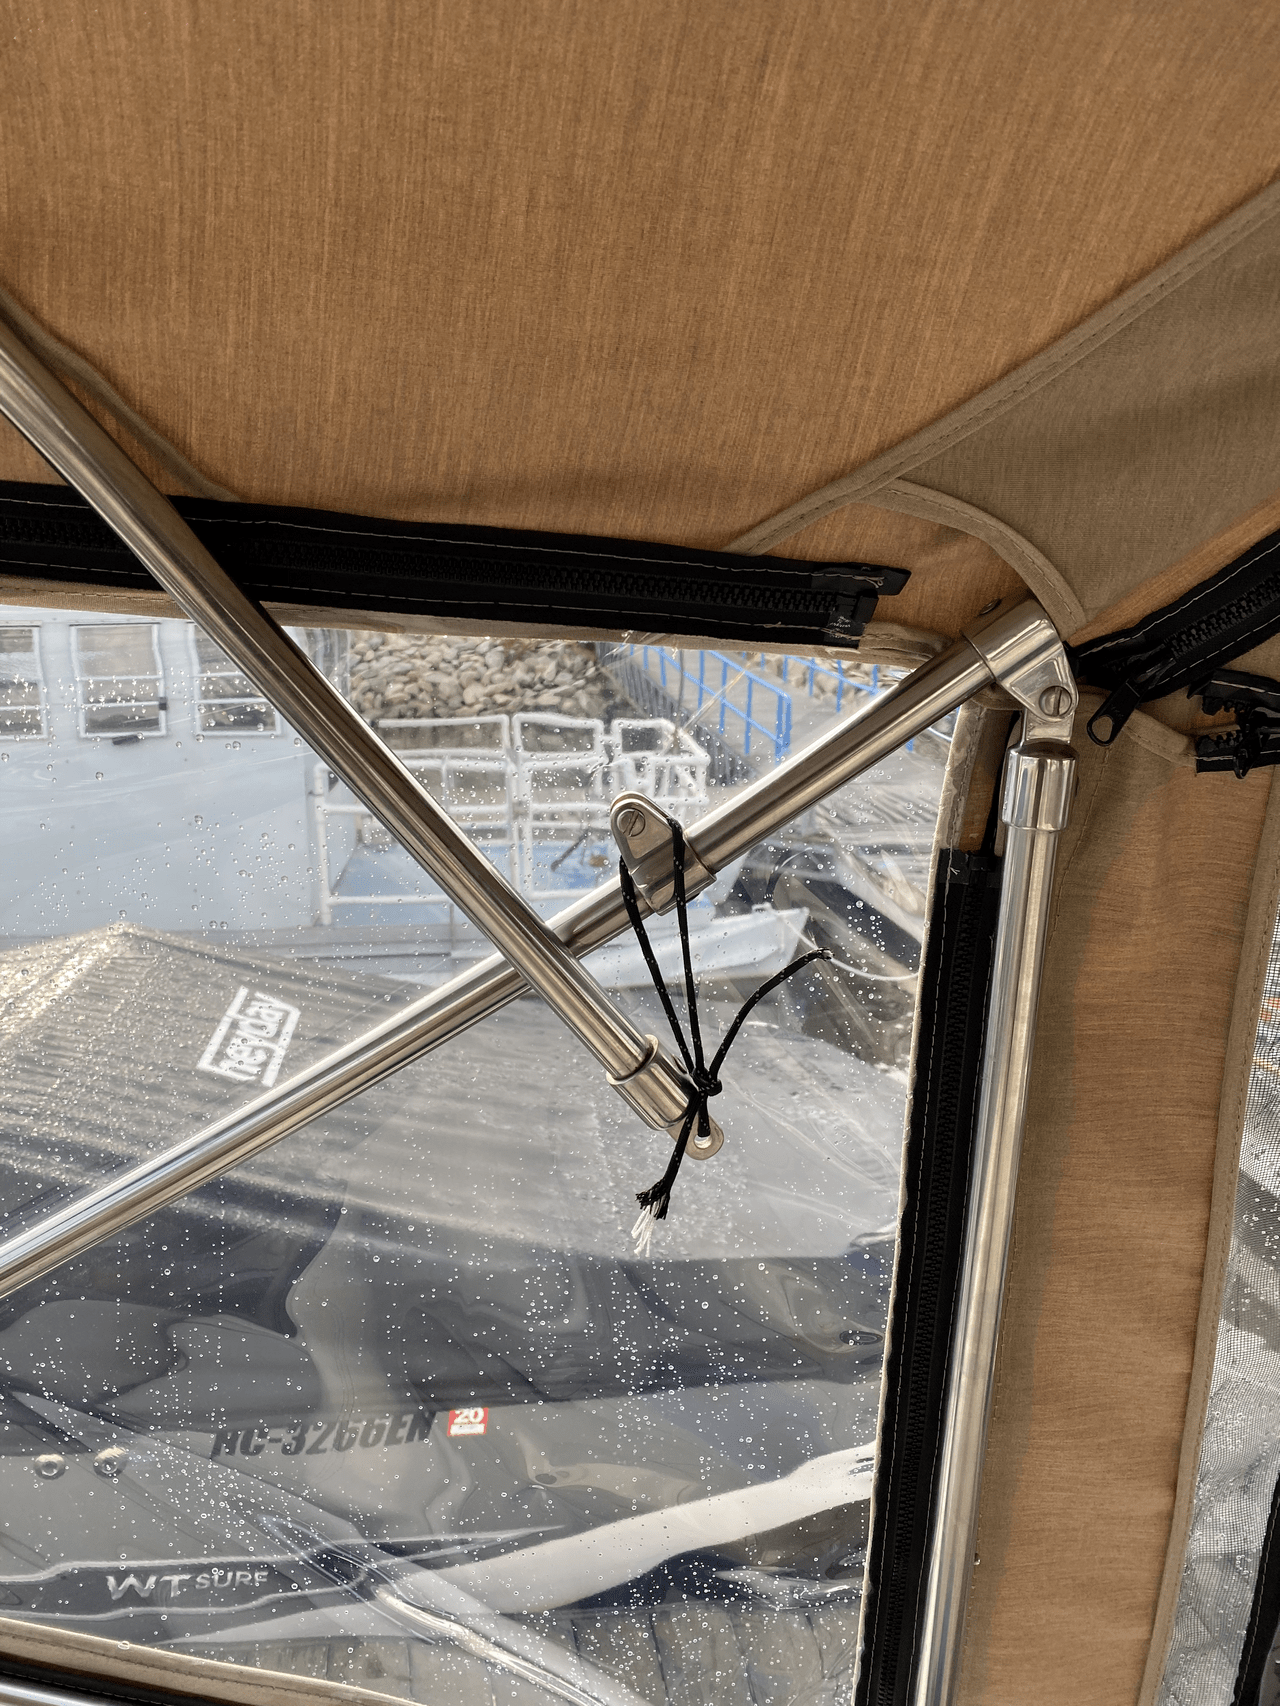
On the rear frame, however, I wanted to position everything as close as possible to where things started to fit sanely. There had been a several inch gap at the rear curtain, which no amount of stretching would overcome. Meanwhile, even with the center bow removed from the bimini, the front visor was taught, perhaps a bit too much so, requiring the releasing of the bimini rear frame from the in detent (on the upright), then putting the extrusion for the visor into place, then coaxing the rear pole back down into the lower detent. Once that was done, the top, visor included looked quite nice, but it still felt a bit overly taut, moreso without the center bow in place.
I had been contemplating cutting the bows shorter - just the two, the center bow for the bimini, and the front bow for the rear frame. I was quite convinced this would let me get the rest of the top positioned how it needed to be, including snaps all around, and in the rear curtain as well. I had intially thought I’d drill out some of the brackets on the bows and reposition them, which certainly could work, but would introduce new holes. I’d also thought about cutting the rear camper bow down as well, but with the pin detent, I’d wind up cutting twice per side, then also needing to drill another pin detent hole.
The good news is all the pivoting around of everything finally got the canvas laying in the right spot side to side, with enough room to start snapping to the existing snaps while keeping the canvas looking like it should. I didn’t want to do the full snaps yet until the final adjustments to the frame were done, but also wanted to banish that green cockpit cover until winter, so I went ahead and added a few of the snaps to the canvas. This may or may not have been the right idea - but I had it in my head I’d be making some frame adjustments as the only option.
Using the snap tool
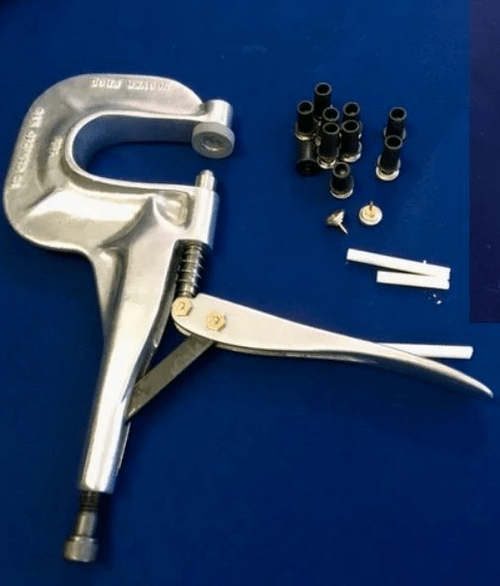
I’m told there are cheaper versions of the snap tool that are pretty much like Vice-Grips, but read and was told enough about the ‘right’ tool I had gone ahead and purchased one, assuming at the very least, a non-green cockpit cover is in my eventual future, as well as possibly helping some others at the marina in the future.
The ‘Press N Snap’ tool runs around $100-$150, and comes with several inserts (shown on the cardboard underneath) for different types of snaps. Both the top (grey round piece) and the base (I call it an anvil, which may or may not be correct) are able to be removed from the tool to swap to other configurations.
The one on the tool in the pic is for adding the snap ‘heads’ through the canvas, with the disc portion with the stem sitting inisde the grey piece, and the ‘base’ being crimped on the other side of the canvase sitting on the bottom anvil, sandwitching the fabric between as you close the tool. The tool is adjustable, like a pair of vice grips, via the knob on the bottom of the handle. It’s sort of a ‘by feel’ tool, or at least that’s how I did it. If you have spare snaps, do a sample first - close the tool without snap hardware in in, adjust it so the anvil and the inner flat part of the ‘head’ (upper grey piece) are just touching, then back off a bit leaving 1/16” or so of an air gap between them. Take a spare snap, and crimp it together and examin the finished snap head to decide if need to go tighter (not solid, or won’t snap onto a snap base), or looser (excessive force needed to crimp).
With the front visor sections zipped back together, I attached them to the bimini again, and re-positioned the bimini side panels a bit, trying to remove any ripples or looseness. I did check the side to side canvas fitment of both the bimini and camper tops, to make sure they were even port to starboard, with the same amount of canvas hanging down on each side of the boat.
Donig the actual snaps…well, I wish the Press N Snap and the snaps were magnetic… you can sort of spin the snap head/cover into the grey tool head so it holds that in place, but it can be a bit challenging to get the other bottom snap piece into the tool, positioned properly without losing or dropping it, at the same time trying to be precise on snap placement. I wound up using a small dab of grease a few times on the anvil, which will help keep the snap base from falling off, but this can get messy, so mostly I just did them by hand free-form.
Where to push the snaps through the top? Get everything positioned ‘final’ as possible, including the bimini sides and visor. As I knew the biggest challenge on this boat was going to be the aft curtain, I worked from the rear of the side windshield backwards, pulling the canvas down and rearward a bit until taut, then a small but further, and marked the top of the canvas with a piece of chalk while holding the canvas over the existing snap sockets attached to the boat.
Along the sides of the boat, you can also see a ‘ledge’ of sorts without non-skid surface, where the canvas presumably ‘should’ go. Also note on the canvas itself, there is a black fabric strip along the bottom - this is reinforcement, and your snaps should absolutely be going through this strip if at all possible!
I went ahead and snapped up the sides, which went fairly well, but stopped short of buttoning up the rear curtain, as I hadn’t made the final cuts or adjustments to the rear bow yet, and wanted to look at it a bit further. Yes, I should have done this first, but as it stands, I’ll be adjusting the bow to take up any slack in the canvas itself, and the snaps are positioned well front to rear, so - fingers crossed.
Meanwhile, we had also reached out to Great Lakes, to see if we could get our hands on the original frame installation instructions, which might be my last saving grace or sanity check before cutting into the bows..
To be continued - and hopefully resolved - soon!