The quest for decent pizza - at home!
What is GOOD pizza?
This one is undoubtedly a loaded question. Growing up on NY, I certainly have my answer, to the point of when Dominos first became available, we were all wondering - OMG, what is this, and why would anyone buy it? :)
The short answer there is convenience (‘deliver in 30 minutes or less’ - if they still even do that), and Dominos delivered well after the local pizzarias were closed - if they even delivered at all. Growing up in NY led to a few main ‘food groups’ I needed to seek out at once anywhere I moved to - good pizza, good Italian food, a good steakhouse, and a place to get bagels. Unfortunately, sometimes I had to settle for ‘passable’ and I’ve still yet to see anywhere that really has the typical NY deli, but I’d say I’m exceptionally ’selective’ in those areas for sure.
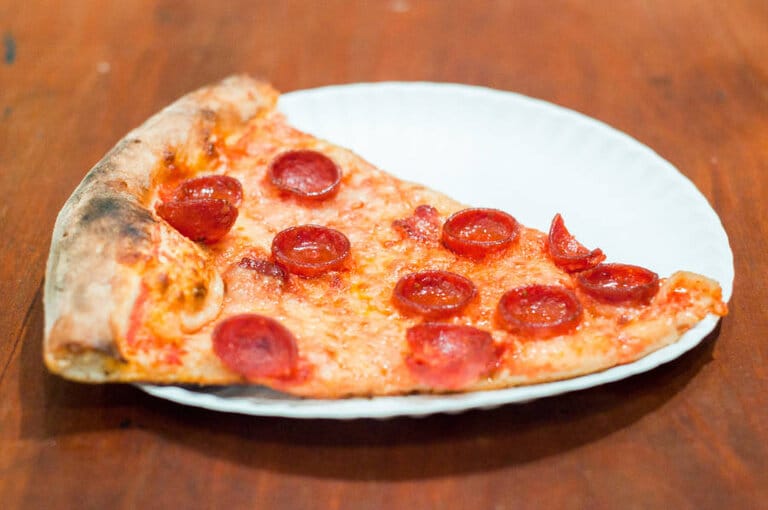
I’ve moved and lived various places across the country and in Europe, and even ‘adjusted’ to some locally available pizza to some extent, but to me - the epitome of pizza starts with that NY style - very similar to Neopolitan with an airy outer crust, some browning to light charring and ‘bubbles’ here and there, with a thin yet crisp on the bottom, slightly chewy layer above, and able to still be picked up and folded to be eaten single-handedly if desired, and ideally 2-3 slices is essentially a full meal, meaning no Dominos-style 2” wide ‘slices.’
There are a few exceptions to the above in my book - ‘Sicilian’ style (rectangle/square, thicker crust) is also NY legit, white pizza and there was a particular place downtown that made a kind of deep-dish that was simply amazing which I’ll eventually have to try to replicate.
Making Pizza at Home - what’s needed?
Cooking Pizza at Home
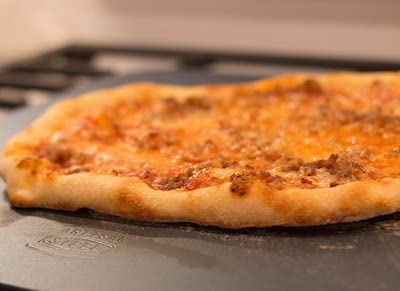
Tradition Neopolitan pizzas using wood-fired grills reaching ~900*F(!!) can cook in 90 seconds to 2 minutes. The high temperature helps to get that perfect crispy-on-the-outside outer crust (cornicione) yet airy on the inside goodness, as well as the ‘leopard spots’ on the bottomside of the crust.
As most of us don’t have access to that type of oven or temperatures, NY style is an even better match, as it uses a Neopolitan-‘type’ dough, but adds in a small amount of sugar and some olive oil - both of which will help to brown the crust.
In order to help our at-home pizza along, we’re gong to want to both pre-heat the oven and run at the highest teeratures available, as well as use either or both convection mode and broiler if/as available. For our current home oven, we’re limited to 500*F, but it worked great with a few minor adjustments we’ll be covering.
Pizza and baking stones have been around for some time. Maybe you’ve owned one, or two, or three - as they all tend to crack and break over time, or at least all the ones I’ve had did, most likley due to the number of thermal shock cycles it’s undergone, but for whatever reason, I’ve spend hundreds of dollars on them to date….and went looking for a better way.
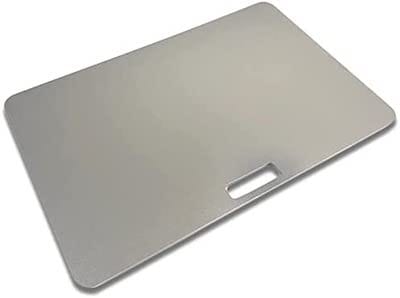
Relatively new is using a piece of steel instead of a stone. Steel has much better heat-retention capabilities, as well as being nearly indestructible. It is, however - rather heavy. Steels can be found in varying sizes and thicknesses, but a few things of critical importance to note:
-
Most home ovens can NOT close with a 16” deep steel or stone in it!
-
Yes, I found this out the hard way, as I wanted ‘as close to NY as possible,’ which meant cutting into at least 6 ‘NY-sized’ slices, so a larger diameter pizza…
-
My 16” round steel will fit, but only if I move the topmost rack to a few inchees from the top of the over, with the shelf cleaning the fan extrusion in the oven. I did actually measure my oven, but didn’t allow for how much the oven door insets into thoven with the door closed… This does work out OK, and some advise using the broiler only for faster home oven pizzas, but measure your usable oven depth in advance!
-
I believe most ovens will accept a 15” depth steel or stone, while presumably all normal-sized ovens will handle a 14” without any issues.
-
-
There are a bunch of different sizes as well as thicknesses available.
-
Steel is…heavy. Consider who is going to be using it (e.g. age, relative strength, convenience, etc.). They can range from 15 to over 30 pounds!
-
Thicknesses range from 1/4” (there may be some even thinner) to 1/2” thick. There are lots of discussions on the relative merits of each I’m not going to dig into on this page, but if planning on doing many pizzas in a row, go thicker, or allow additional steel re-heating time every other pizza or so. Thinner steels can pre-heat in 30 minutes or so for the initial pre-heat, while 3/8” and 1/2” might need longer pre-heat times.
-
I chose a round steel primarily due to the combination of size and reduced weight for the size (a 16”x20” rectangle would be nearly double the weight of my 16” round steel!), but I’d also consider e.g. a 15”x15” square steel, while some might prefer the seemingly more standard 14” x 20” sizes available.
The heavier steel in reality takes a lot longer to heat up - I typically leave mine in the over for an hour, or at least 45 minutes, before cooking. If doing single or 2 pizzas, I’d probably go with the 1/4” thick the next time around..
-
-
-
Steels are supposed to be seasoned - similarly to cast iron or carbon steel
-
They should also in general be scrubbed clean before seasoning. Soap, water, or even a mild vinegar bath depending on where you get your steel from. Some come pre-seasoned, some are more or less just a slab of steel.
-
Don’t worry too much about seasoning, especially if you ‘cheat’ a bit like I sometimes do after a ‘perfect looking’ pizza stuck to my peel on the way into the oven - and now use parchment paper. ;)
-
Seasoning them is simple - get a higher temp smoke point oil - avacado or peanut, rub it into the steel (both sides, and the edge), and literally wipe it down so it’s nearly dry, then put into the oven at 25-50* over the smokepoint of the oil being used (or just set to 450* and call it good), let it sit in the oven for an hour at temperature, then cool down naturally. Remove from oven, wipe down good, then repeat once more if desired for good measure and pretty much done. Use a scraper if need be to remove any burnt on bits after use, and just re-apply a tiny amount of oil and rub in until almost dry-seeming after every use to a few uses.
-
-
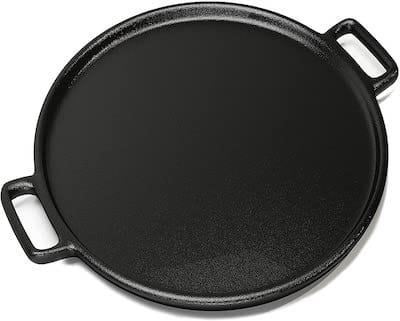
Once I used a pizza steel, I’m not going back to another stone. There is one other option out there, which worked reasonably well, and I still use today for making NY bagels and breads. A few companies, Lodge included, make a ~14” cast iron ‘pizza stone,’ although noting it’s cast iron, so is a lot less likely to break, but is cheaper and still can be used. I’ve stopped using it over time, but it’s better and will last longer than most ‘stones’ at least.
Pizza and Baking Steels
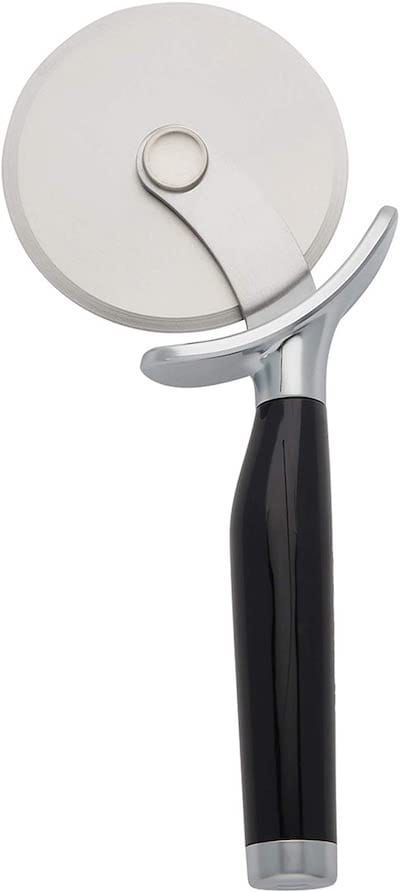
Pizza Peels and Miscellaneous
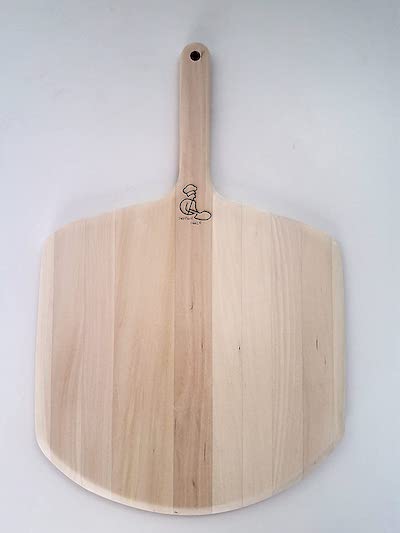
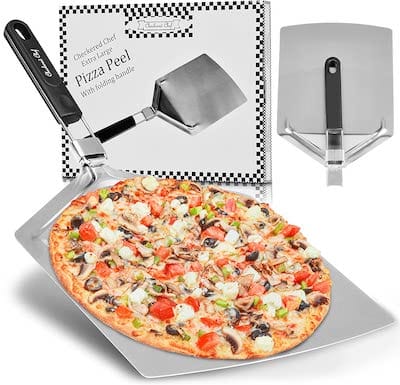
I went through a good number of peels and other ‘tools,’ some of which worked, and some didn’t. It’s difficult to get a large enough peel when trying to do a 16” pizza, and people will debate between metal and wooden peels. Wood peels in general are less likely to stick, or take longer before the dough sticks to them. Meanwhile, in the event of a ‘blow-through’ where the dough got too thin and you have a bit stuck to the pizza steel,a metal peel can be your friend.
Starting out it can be quite difficult to shuttle the pizza off of the peel onto the steel in the oven. If you’re running into issues with this, you can always use some parchment paper on top of the peel. Load the pizza on top of the parchment paper sitting on the peel. Pull the paper itself onto the steel or use it to ‘help’, and after half of the cooking time, you can always pull the parchment paper out while rotating the pizza.
When I’m laying out the dough or going directly onto the peel, I use a mixture of half AP or bread/pizza flour and half fine-ground semolina flor to dust the work surface or peel with.
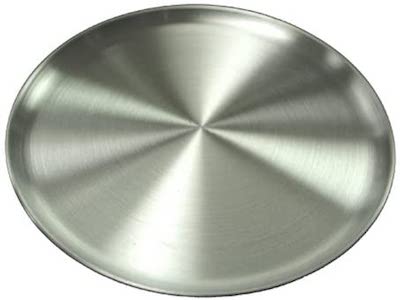
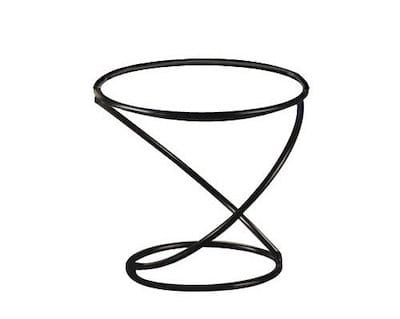
The folding peels seem neat,and they kind of are, but I haven’t seen any in > 14” width sizes. Most of the peels and trays listed can be found in smaller sizes if so desired. For the few $, I really like the stand and pizza serving tray and we use both of them every pizza night.
If you do buy a wooden pizza peel, make sure to pick up some food-grade mineral oil - treat it just like wooden cutting boards, give it a good coat or a few and let it soak in before first use, then another every few months.
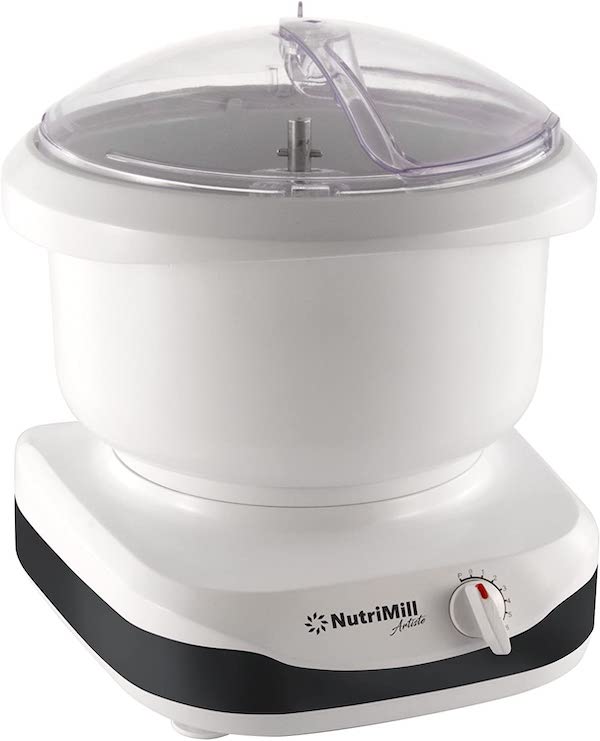
Misc other kitchen tools
I’ve had a Bosch Mixer for ages, buying it initially for my wife, but nowadays I’m using it more than she is as the dedicated ‘for pizza and bagel dough’ machine. We’ve had ours over 10 years now with no reason to replace it - it’s not as ‘pretty’ as some of the KitchenAids, but it’s stronger, more durable, and just keeps chugging. The NutriMill is a slighter lower-powered (650W vs 800W) Bosch clone (literally - the parts and attachments interchange). Of course, you can always spend the crazy $ on an Ankarsrum if you’d like - but I’ve seen no need to.
I did however, update the dough mixer attachment - not needed when making large batches of dough, but was helpful when I was still making 1-2 dough balls at a time.
Ready in an hour vs cold fermentation
This can lead to all kinds of online debates, with tons of ‘best ever NY style pizza’ recipes claiming you can mix the dough and be cooking it an hour later. All I can say here is while I had some recipes I’d tried that made nice ‘puffy’ crusts or cornicione in Italian, I wasn’t really happy with any of them - they lacked flavor among other things.
Cold-fermenting generally uses less yeast, and involves mixing dough, usually letting it do it’s ‘first rise’ in the kitchen, and then putting in a cooler location for 1 or more days. The ‘ideal’ temperature for this is higher than refrigerator temperatures, and would be ideal if someone had a root cellar or wine refrigerator able to adjust the temperature. I may eventually pick up a used smaller wine frig to see if it works better, but the only pizza I make nowadays is longer fermentation time. I usually make enough dough for 4 ~16 inch pizzas at a time, and bag and freeze 3 of them.
In the ‘worst’ case, where I absolutely forgot it was ‘pizza night,’ I’ll try to make the dough as soon as I can, reatard 3 of the 4 dough balls per my usual recipe, and leave the other ball out for as long as I can - it’s not as good as at least overnight to 2-3 days in the frig, but it’s a lot better than the recipes having you throwing the dough in the oven an hour after mixing it..
Anything else?
Yeah, probably just one thing - don’t give up! I got to the point a year ago my wife, who doesn’t particulary even like pizza (I don’t know how this is possible either), said - “there’s no reason for us to order pizza delivery any more” and she likes it. Before that, I probably had a year of on/off again stumbling around different people’s recipes, some that looked very good coming out of the oven but really lacked taste. I’m still not 100% on my current recipe, but am pretty happy with it.
A few minor updates
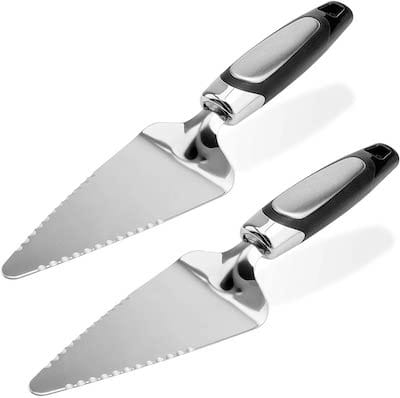
So I’ve been making pizza twice a week for another 5 years or so. I’m still using the metal stand, the baking steel, the pizza serving tray, and my Bosch mixer remains going strong, making up enough dough for 4x 16” pizzas at a time, plus making bagel dough. I can’t think of the last time we used the ‘pizza spatulas’ - maybe for cake, or they went to Goodwill, but the rest remain in very regular use.