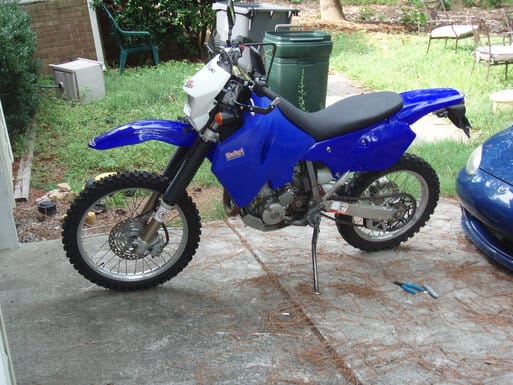
DRZ400S: From Yellow to Blue
After my first ’02 DRZ400S was stolen after only a month of ownership, I was pretty pissed off. Homeowners didn’t cover anything, but I decided to replace the bike regardless. DRZs while not uncommon, don’t come up for sale all that often in my area, and I came across a used ’03 yellow, with E base gasket/exhaust and cams, not too far away in Virginia.
I chatted with the owner for some time over the phone until I had some confidence in the bike, and decided to basically go for it, nearly sight unseen, barring any huge surprises.
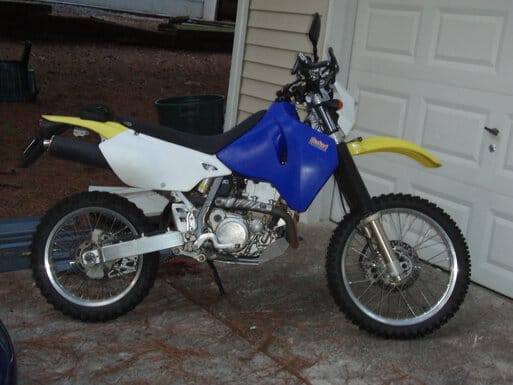
One problem- it was yellow! I know, I know, it’s a dirt bike...who cares?
Well, I guess I did. I’m pretty partial to blue, although ironically one of my first dirt bikes was a Suzuki RM125, which was of course, yellow.
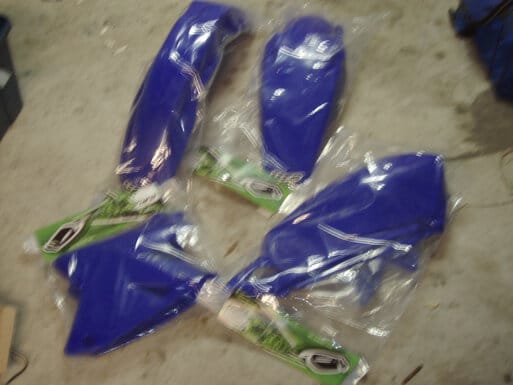
Regardless, ThumperTalk had a set of blue plastics made for the bike at a pretty reasonable price ($125), and that only left the gas tank itself, which I had already ordered a blue Safari 17L tank for my prior blue bike, so that was covered, and in fact, already on the bike, along with a set of ProTapers and Cycra handguards.
Swapping the plastics
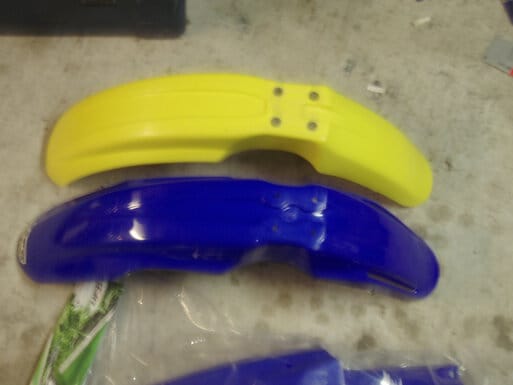
I was going to put it off until Saturday, but around 9pm or so I got motivated and wanted to at least get started. They don’t apparently sell the bits separately, but they are packaged like this may be an option in the future:
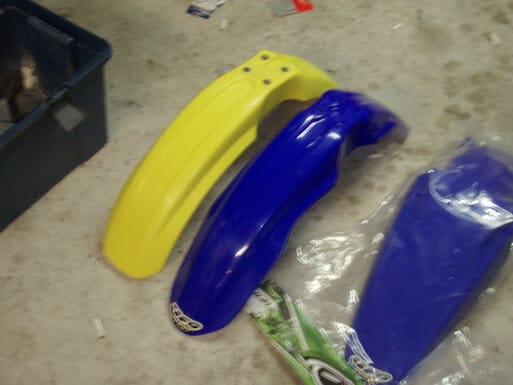
Quality appeared good, although there were some slight differences versus the OE plastics:
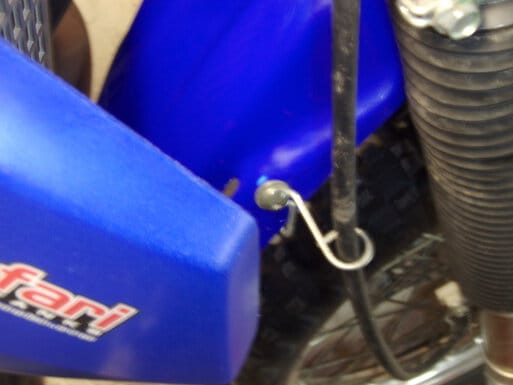
The fronts were a straight bolt-on affair, except for needing to drill a hole to attach a cable bracket to. There’s a washer backing on the underside, and I drilled slightly too close to the curve, so have a slight tension discoloration right next to the screw, but it IS a dirt bike, so not too worried about it..
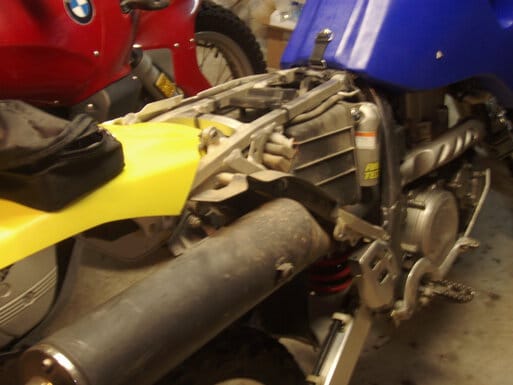
Once the front fender was done (maybe 10 minutes including drilling), I pulled the seat and the right side cover off:
I compared the new cover to OE, and was pretty impressed..my OE cover, if it ever had one, had since lost it’s heat shield, but a new one was attached to the blue replacement.
Five minutes later and that was on the bike, and the rear fender removed. The rear fender uses the two bolts for the OE tail bag/tool bag, plus two bolts at the bottom front, accessed through the wheel well..be careful, as your tail light wires feed through a hole in the fender, and will need to be disconnected. This is a good time to check and possibly re-tape the tail light harness if you see any issues, or the harness is becoming frayed at all..
I compared the OE and replacement rear fenders, which DID show some differences...
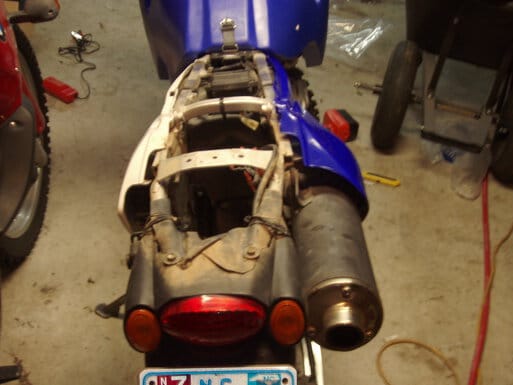
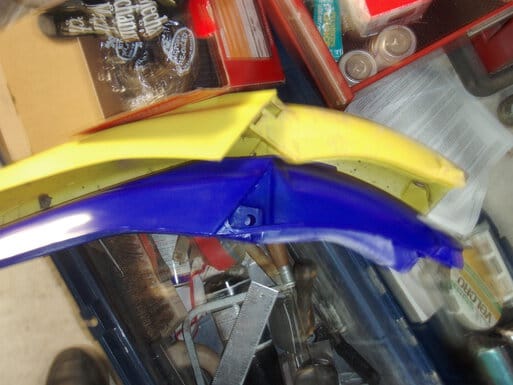
The 400S has a rear sub-frame extending from the main frame towards the back of the rear fender, presumably to give some support for a tail rack as well as the OE turn signals, that I’m assuming aren’t there on the off-road only versions of the bike, so basically there’s what seems to be ‘a lot of extra plastic’ at the point the fender slides up inside the frame itself. I took a fair amount of time, trimming, fitting, comparing to the OE fender, in several iterations, using a box knife to cut the plastic. I could probably do it again in 15 minutes or so now that I’ve fit one once, but it’s not a big deal, just keep pushing the fender in, and trim where it binds. Remember to try to find somewhere your wires will pass through cleanly without squishing or screwing them up though!
The TT rear fender isn’t drilled for the tool bag bolts. I was going to simply heat my awl up a bit, then push through the top of the fender from below, using the steel bracket underneath as a guide, but I couldn’t locate my awl or a long center punch, so just drilled the two holes from beneath, 2 minutes work.
The left side plastics went on without issue, although you have to transfer the half-turn fasteners from the OE plastics onto the new. They’re retained by a thin compression/inside star washer pressed onto the back of the fasteners, and can be gotten off mostly intact with a pair of needle-nose pliers, then just pushed down over the fasteners in the new plastics.
With the Corbin seat I put on the bike, I did have to trim the airbox cover slightly, as the top rear part was pressing into the seat, instead of sliding under the OE seat, but I only needed to trim 1/2” off the top ridge, or less.
All done, except for mounting the tool bag!